Enroll MacOS in Microsoft Defender
Prerequisites
Section titled “Prerequisites”To successfully enroll your MacOS (or any other OS for that mater) you will need to setup all connections between Intune and Defender. You can read about it here. Of course you will need the correct licenses:
- Defender for Endpoint Plan 1 and Plan 2 (standalone or as part of other Microsoft 365 plans)
- Microsoft Defender for Business (for small and medium-sized businesses)
To onboard servers to the standalone versions of Defender for Endpoint, server licenses are required. You can choose from:
- Microsoft Defender for Servers Plan 1 or Plan 2 (as part of the Defender for Cloud) offering
- Microsoft Defender for Endpoint for Servers
- Microsoft Defender for Business servers (for small and medium-sized businesses only)
Enable Microsoft Defender in Intune
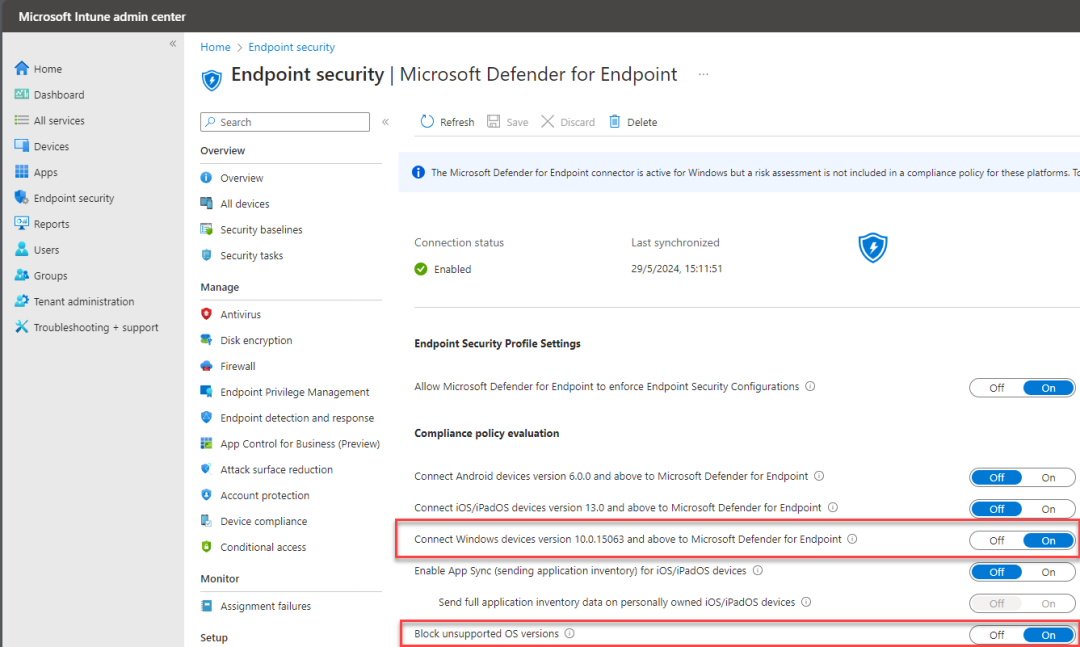
Section titled “Enable Microsoft Defender in Intune”Sign in to the Microsoft Intune admin center. Select Endpoint security – Microsoft Defender for Endpoint, and toggle the Allow Microsoft Defender for Endpoint to enforce Endpoint Security Configurations box to On.

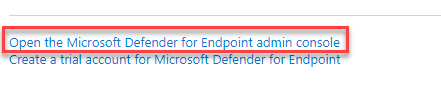
Select Endpoint security > Microsoft Defender for Endpoint, and then select Open the Microsoft Defender Security Center.
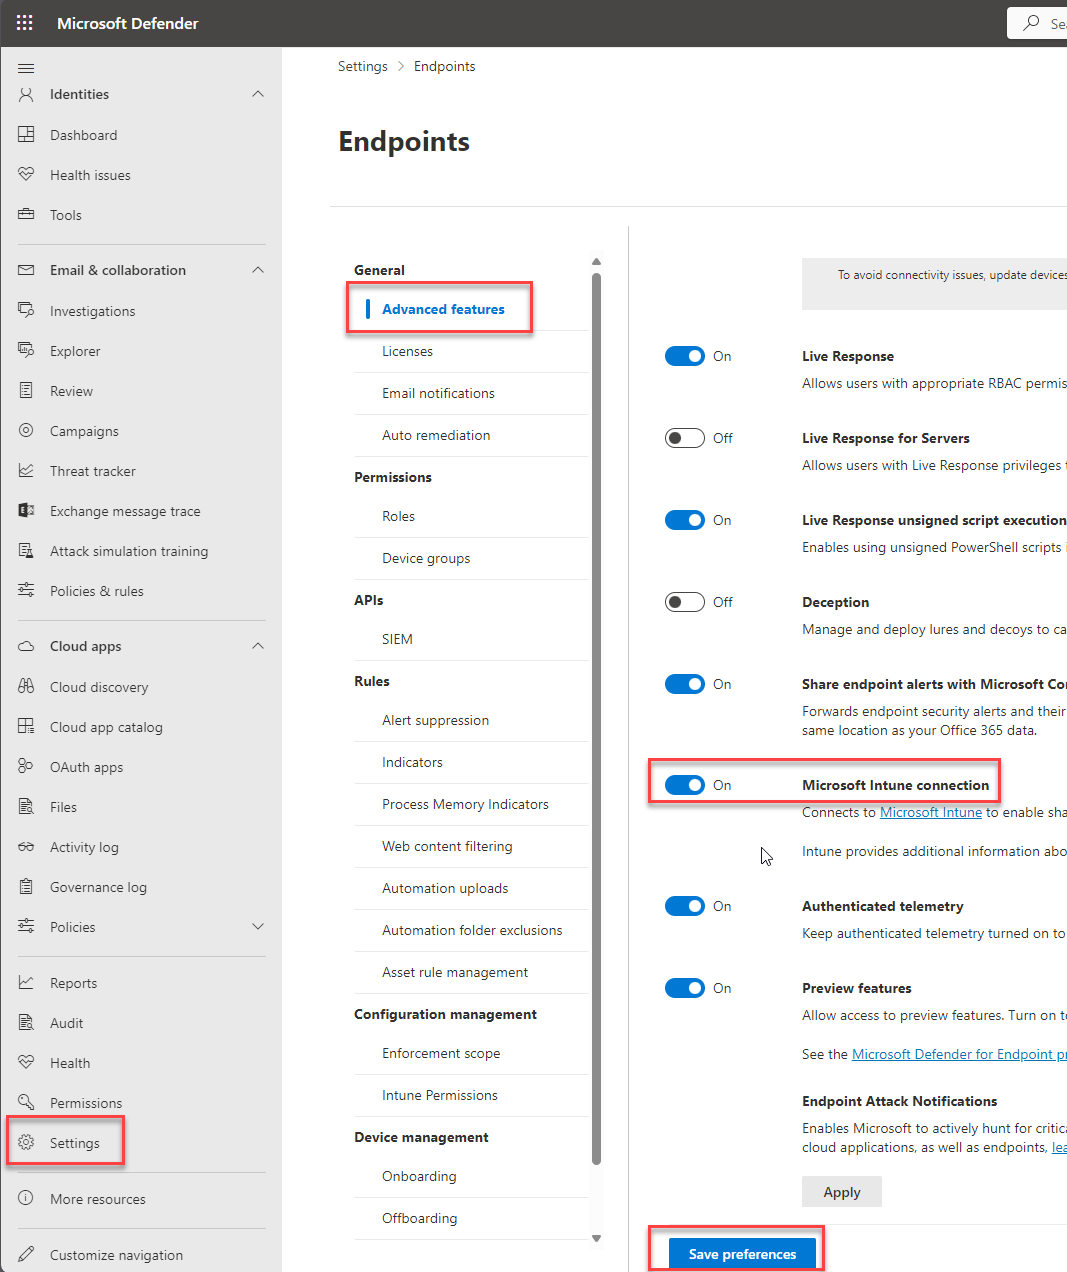
In Microsoft Defender portal (previously the Microsoft Defender Security Center) Select Settings (at the bottom of the left column) – Endpoints – Advanced features.
For Microsoft Intune connection, choose On and click Save preferences.
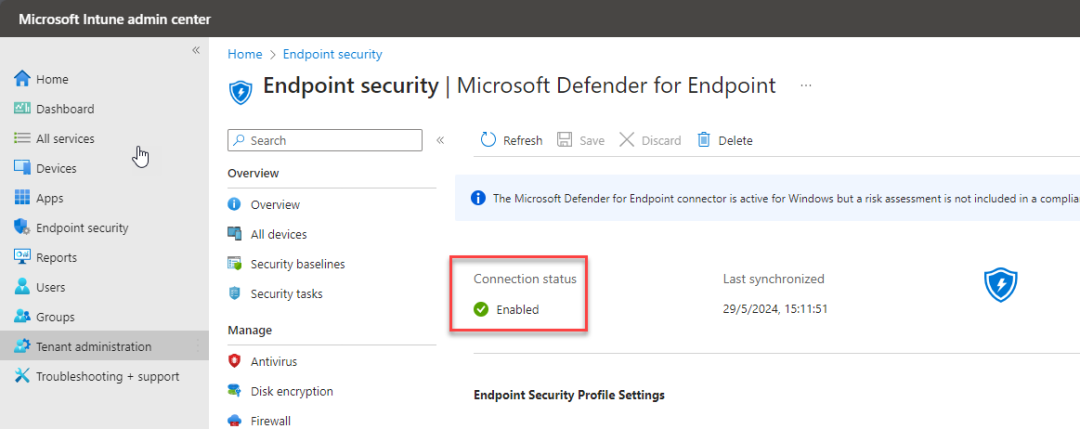
Go back to the Microsoft Intune admin center. Select Endpoint security – Microsoft Defender for Endpoint and you will see that the connection status is set to enabled. (this can take a few minutes, please refresh periodically)
Now on the same screen toggle both Connect Windows devices version 10.0.15063 and above to Microsoft Defender for Endpoint and Block unsupported OS versions to the On state.
Now you have enabled the connection between Microsoft Defender and Intune. Now let’s continue to create the different configuration profiles needed.
Create system configuration profiles
Section titled “Create system configuration profiles”The System Extensions Policy
The next step is to create system configuration profiles that Microsoft Defender for Endpoint needs. In the Microsoft Intune admin center, open Devices – MacOS – Configuration profiles. We will need a lot of policies configured for this so make sure you have some spare time for this 😉
On the Policies tab, select Create > New Policy.
- Under Platform, select macOS.
- Under Profile type, select Templates.
- Under Template name, select Extensions, and then select Create.
- Name your policy e.g MacOS – Defender Extensions
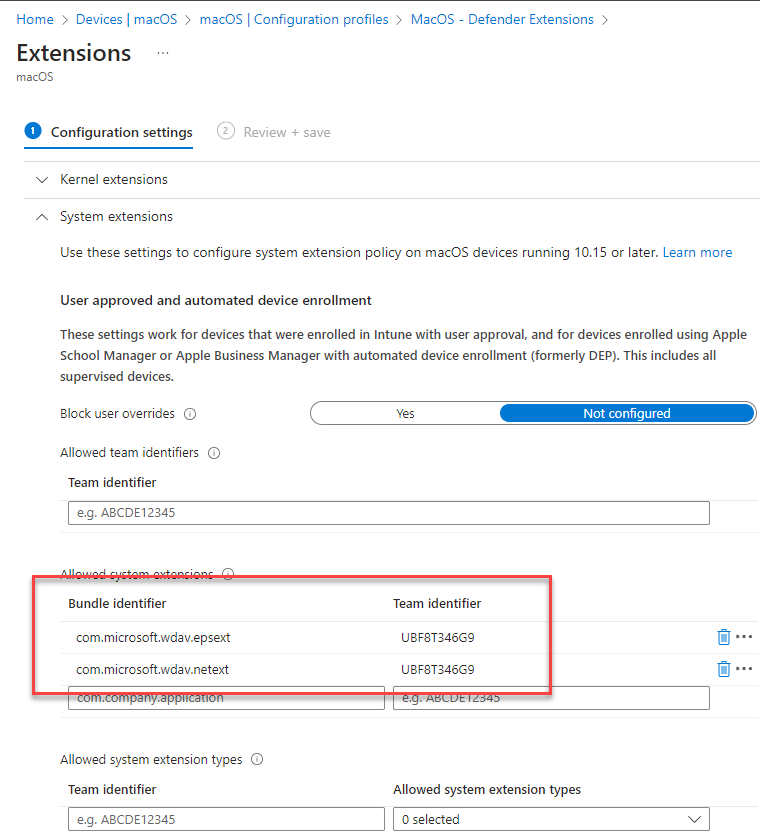
- On the Configuration settings tab, expand System Extensions and add the following entries in the Allowed system extensions section:
Bundle identifier
- com.microsoft.wdav.epsext
- com.microsoft.wdav.netext
Team identifier
- UBF8T346G9
Select Next. On the Assignments tab, assign the profile to a group where the macOS devices and/or users are located, or select the Add all users and Add all devices options. Then select Next. Review the configuration profile. Select Create.
The Network Filter Policy
As part of the Endpoint Detection and Response capabilities, Microsoft Defender for Endpoint on macOS inspects socket traffic and reports this information to the Microsoft 365 Defender portal. The following policy allows the network extension to perform this functionality.
First we need to download the netfilter.mobileconfig file – Unzip the file somewhere on your PC.
To configure network filter:
- Under Configuration profiles, select Create Profile.
- Under Platform, select macOS.
- Under Profile type, select Templates.
- Under Template name, select Custom.
- Select Create.
- On the Basics tab, Name the profile e.g. MacOS – Network Filter
- On the Configuration settings tab, enter a Custom configuration profile name e.g. Network Filter
- Deployment Channel: Device Channel (we are going to scope all Defender policies on device groups)
- Configuration profile file: Browse for the downloaded file

Select Next. On the Assignments tab, assign the profile to a group where the macOS devices and/or users are located, or select the Add all users and Add all devices options. Then select Next. Review the configuration profile. Select Create.
The Full Disk Access Policy
Section titled “The Full Disk Access Policy”Starting with macOS Catalina (10.15) or newer, in order to provide privacy for the end-users, it created the FDA (Full Disk Access). Enabling TCC (Transparency, Consent & Control) through a Mobile Device Management solution such as Intune, will eliminate the risk of Defender for Endpoint losing Full Disk Access Authorization to function properly.
This configuration profile grants Full Disk Access to Microsoft Defender for Endpoint. If you previously configured Microsoft Defender for Endpoint through Intune, we recommend you update the deployment with this configuration profile.
First we need to download the Fulldisk.mobileconfig file – Unzip the file somewhere on your PC.
To configure Full Disk Access:
- In the Intune admin center, under Configuration profiles, select Create Profile.
- Under Platform, select macOS.
- Under Profile type, select Templates.
- Under Template name, select Custom. Then select Create
- Select Create.
- On the Basics tab, Name the profile e.g. MacOS – Full Disk Access
- Select Next.
- On the Configuration settings tab, enter a Custom configuration profile name
- Deployment Channel: Device Channel (we are going to scope all Defender policies on device groups)
- Configuration profile file: Browse for the downloaded file

Select Next. On the Assignments tab, assign the profile to a group where the macOS devices and/or users are located, or select the Add all users and Add all devices options. Then select Next. Review the configuration profile. Select Create.
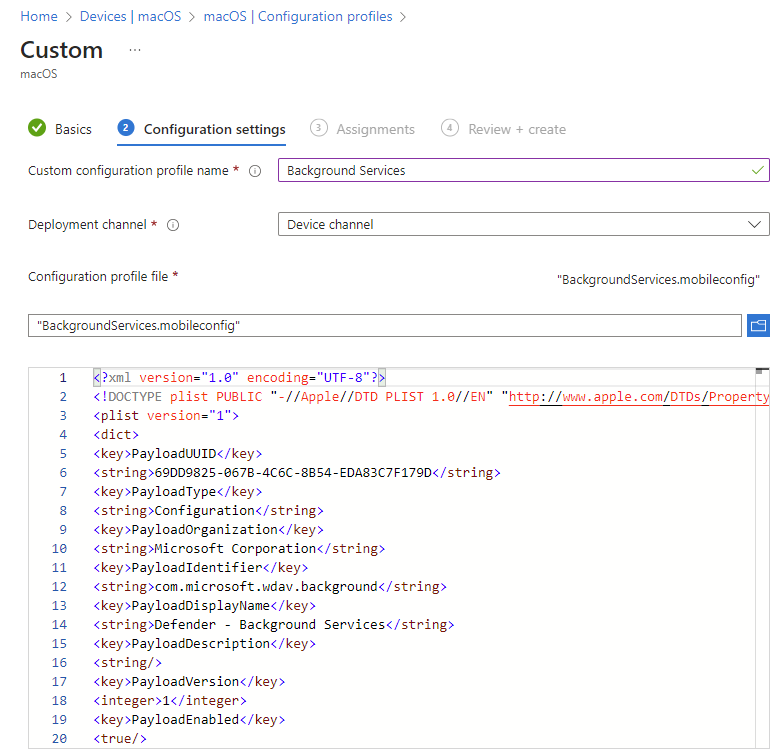
The Background Services Policy
Section titled “The Background Services Policy”macOS 13 (Ventura) contains new privacy enhancements. Beginning with this version, by default, applications cannot run in background without explicit consent. Microsoft Defender for Endpoint must run its daemon process in background. This configuration profile grants Background Service permissions to Microsoft Defender for Endpoint. If you previously configured Microsoft Defender for Endpoint through Microsoft Intune, we recommend you update the deployment with this configuration profile.
First we need to download the BackgroundServices.mobileconfig file – Unzip the file somewhere on your PC.
To configure background services:
- Under Configuration profiles, select Create Profile.
- Under Platform, select macOS.
- Under Profile type, select Templates.
- Under Template name, select Custom, and then select Create.
- On the Basics tab, Name the profile e.g. MacOS – Background Services
- Select Next.
- On the Configuration settings tab, enter a Custom configuration profile name e.g. Background Services
- Deployment Channel: Device Channel (we are going to scope all Defender policies on device groups)
- Configuration profile file: Browse for the downloaded file
Select Next. On the Assignments tab, assign the profile to a group where the macOS devices and/or users are located, or select the Add all users and Add all devices options. Then select Next. Review the configuration profile. Select Create.
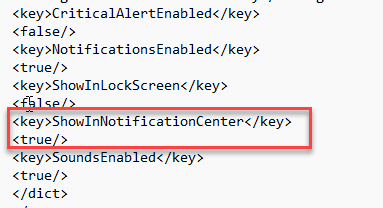
The Notifications Policy
Section titled “The Notifications Policy”This profile is used to allow Microsoft Defender for Endpoint on macOS and Microsoft AutoUpdate to display notifications in UI.
First we need to download the Notifications.mobileconfig file – Unzip the file somewhere on your PC.
To turn off notifications for the end users, you can change Show NotificationCenter from true to false in the file.
To configure background services:
- Under Configuration profiles, select Create Profile.
- Under Platform, select macOS.
- Under Profile type, select Templates.
- Under Template name, select Custom, and then select Create.
- On the Basics tab, Name the profile e.g. MacOS – Notifications
- Select Next.
- On the Configuration settings tab, enter a Custom configuration profile name e.g. Notifications
- Deployment Channel: Device Channel (we are going to scope all Defender policies on device groups)
- Configuration profile file: Browse for the downloaded file

Select Next. On the Assignments tab, assign the profile to a group where the macOS devices and/or users are located, or select the Add all users and Add all devices options. Then select Next. Review the configuration profile. Select Create.
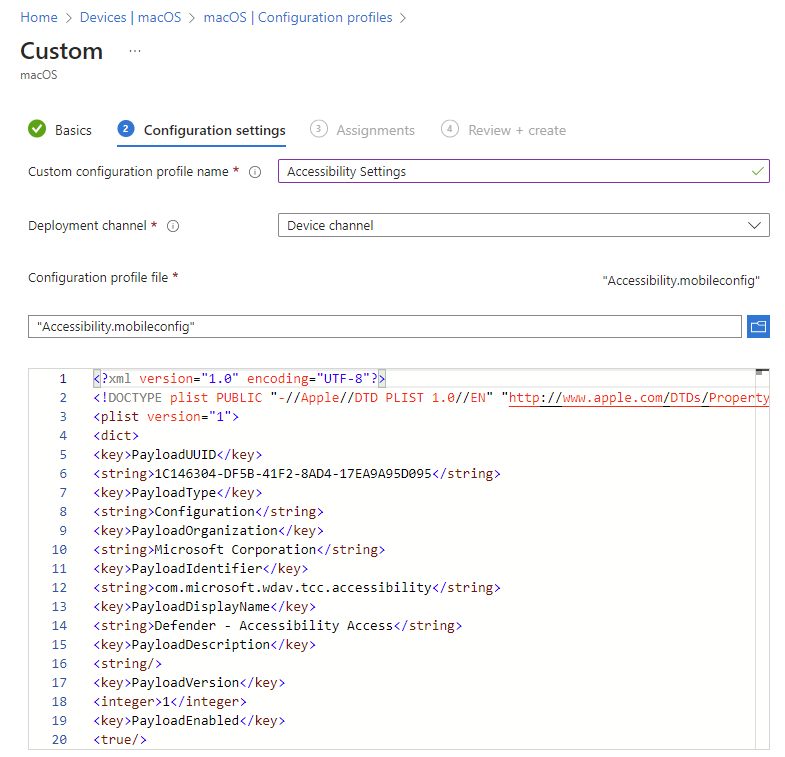
The Accessibility Settings Policy
Section titled “The Accessibility Settings Policy”This profile is used to allow Microsoft Defender for Endpoint on macOS to access the accessibility settings on Apple macOS High Sierra (10.13.6) and newer.
First we need to download the Accessibility.mobileconfig file – Unzip the file somewhere on your PC.
To configure background services:
- Under Configuration profiles, select Create Profile.
- Under Platform, select macOS.
- Under Profile type, select Templates.
- Under Template name, select Custom, and then select Create.
- On the Basics tab, Name the profile e.g. MacOS – Accessibility Settings
- Select Next.
- On the Configuration settings tab, enter a Custom configuration profile name e.g. Accessibility Settings
- Deployment Channel: Device Channel (we are going to scope all Defender policies on device groups)
- Configuration profile file: Browse for the downloaded file
Select Next. On the Assignments tab, assign the profile to a group where the macOS devices and/or users are located, or select the Add all users and Add all devices options. Then select Next. Review the configuration profile. Select Create.
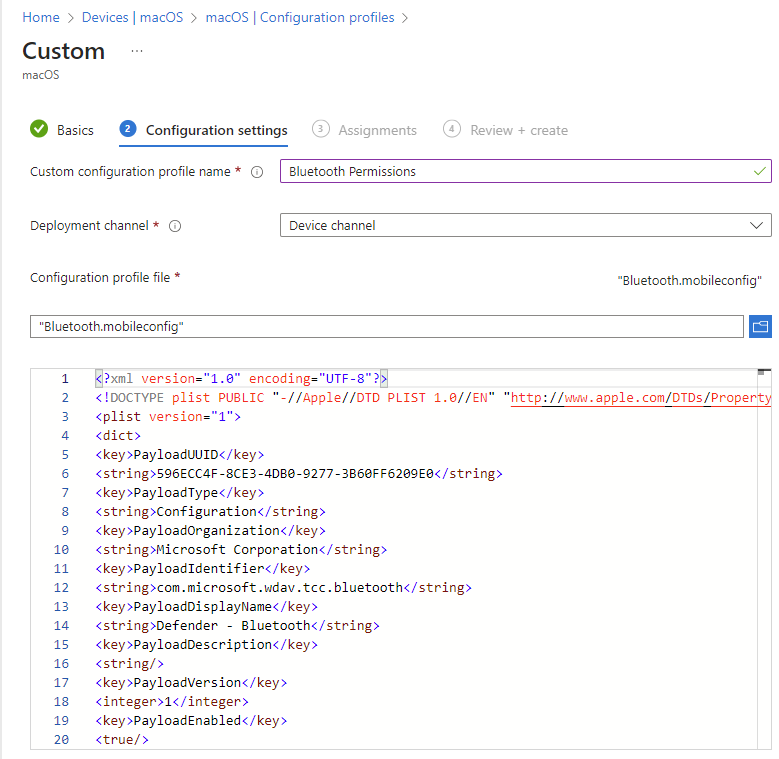
The Bluetooth Permissions Policy
Section titled “The Bluetooth Permissions Policy”macOS 14 (Sonoma) contains new privacy enhancements. Beginning with this version, by default, applications cannot access Bluetooth without explicit consent. Microsoft Defender for Endpoint uses it if you configure Bluetooth policies for Device Control.
Bluetooth granted through Apple MDM Configuration Profile is not reflected in System Settings => Privacy & Security => Bluetooth.
First we need to download the Bluetooth.mobileconfig file – Unzip the file somewhere on your PC.
To configure background services:
- Under Configuration profiles, select Create Profile.
- Under Platform, select macOS.
- Under Profile type, select Templates.
- Under Template name, select Custom, and then select Create.
- On the Basics tab, Name the profile e.g. MacOS – Bluetooth Permissions
- Select Next.
- On the Configuration settings tab, enter a Custom configuration profile name e.g. Bluetooth Permissions
- Deployment Channel: Device Channel (we are going to scope all Defender policies on device groups)
- Configuration profile file: Browse for the downloaded file
Select Next. On the Assignments tab, assign the profile to a group where the macOS devices and/or users are located, or select the Add all users and Add all devices options. Then select Next. Review the configuration profile. Select Create.
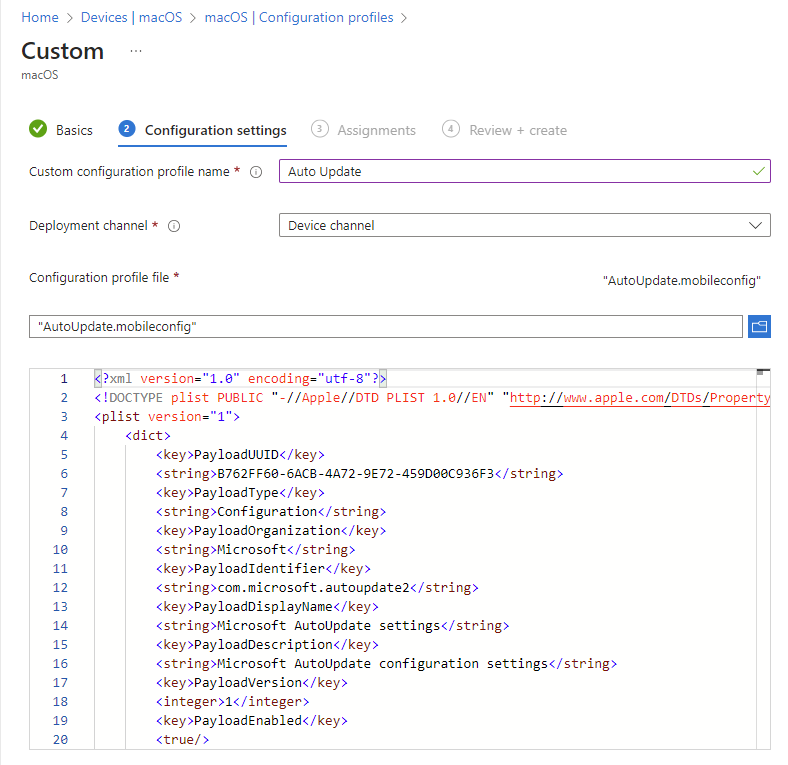
The Microsoft Auto Update Policy
Section titled “The Microsoft Auto Update Policy”This profile is used to update the Microsoft Defender for Endpoint on macOS via Microsoft AutoUpdate (MAU). If you’re deploying Microsoft Defender for Endpoint on macOS, you have the options to get an updated version of the application (Platform Update) that are in the different channels mentioned here:
- Beta (Insiders-Fast)
- Current channel (Preview, Insiders-Slow)
- Current channel (Production)
First we need to download the AutoUpdate.mobileconfig file – Unzip the file somewhere on your PC.
To configure background services:
- Under Configuration profiles, select Create Profile.
- Under Platform, select macOS.
- Under Profile type, select Templates.
- Under Template name, select Custom, and then select Create.
- On the Basics tab, Name the profile e.g. MacOS – Auto Update
- Select Next.
- On the Configuration settings tab, enter a Custom configuration profile name e.g. Auto Update
- Deployment Channel: Device Channel (we are going to scope all Defender policies on device groups)
- Configuration profile file: Browse for the downloaded file
Select Next. On the Assignments tab, assign the profile to a group where the macOS devices and/or users are located, or select the Add all users and Add all devices options. Then select Next. Review the configuration profile. Select Create.
Microsoft Defender for Endpoint Configuration Settings
Section titled “Microsoft Defender for Endpoint Configuration Settings”Set the Microsoft Defender Portal Onboarding Policy
Go through Configure Microsoft Defender for Endpoint in Intune before setting the security policies using Microsoft Defender for Endpoint Security Settings Management.
In the Intune portal, go to Endpoint Security – Endpoint Detection and Response
- Click Create policy
- Choose MacOS as platform
- Choose Endpoint Detection and Response
- Click Create
- Name your policy e.g. MacOS – Endpoint Detection and Response, click next
- Add your Device Tags
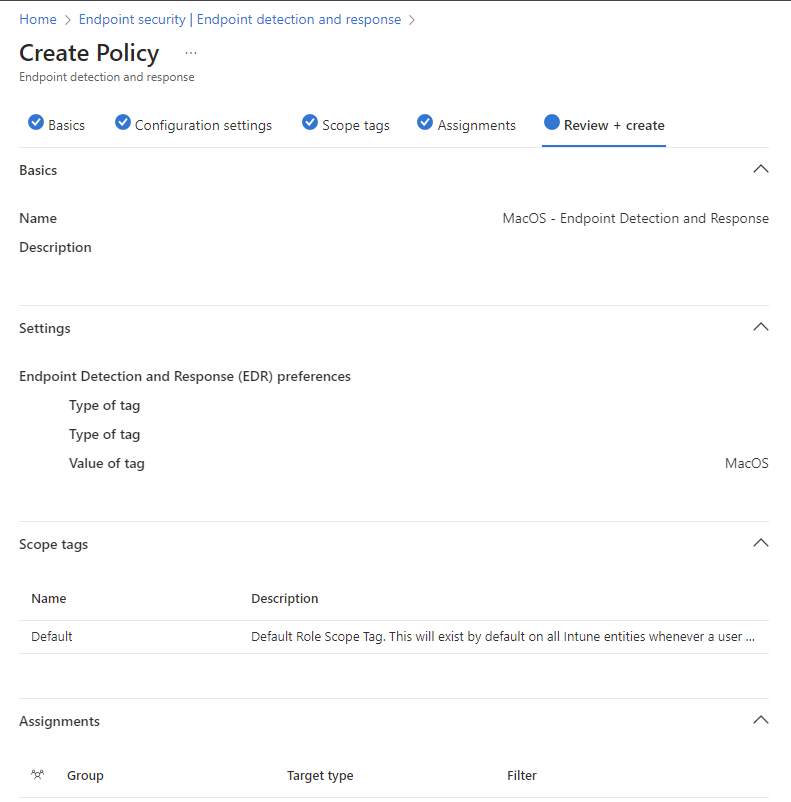
Select Next. On the Assignments tab, assign the profile to a group where the macOS devices and/or users are located, or select the Add all users and Add all devices options. Then select Next. Review the configuration profile. Select Save.
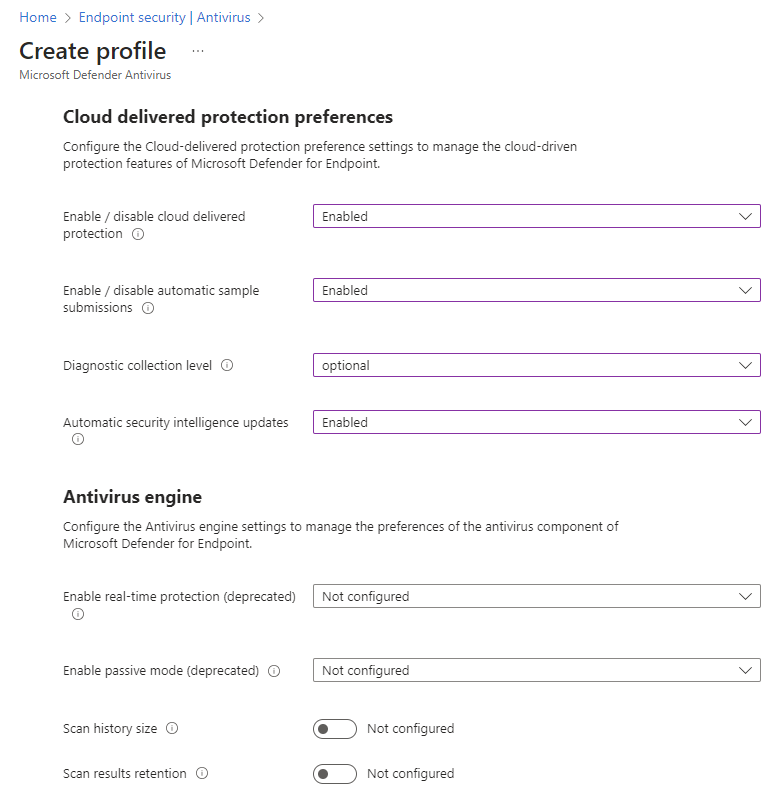
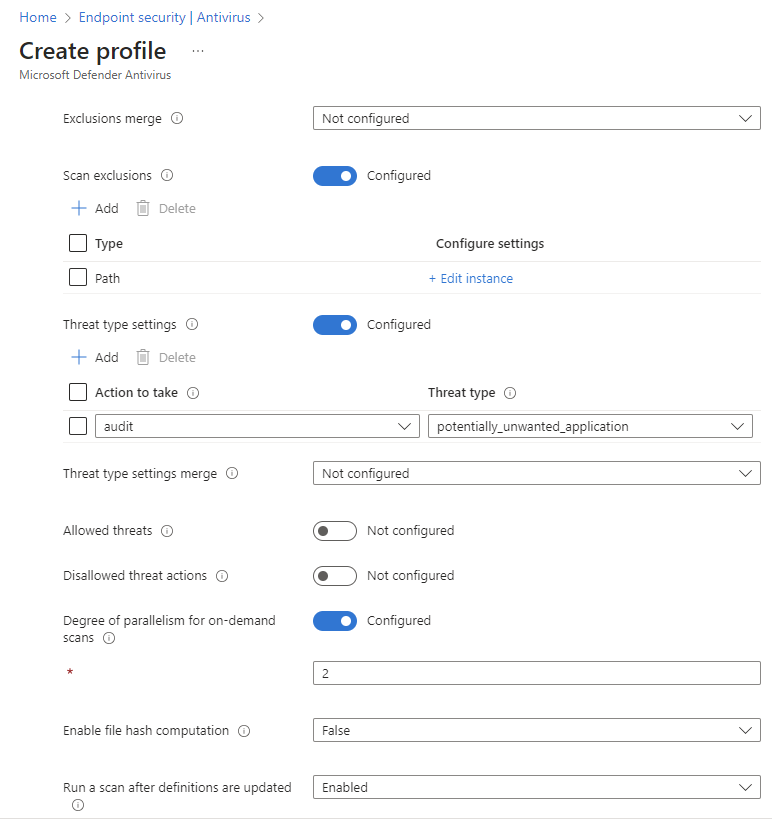
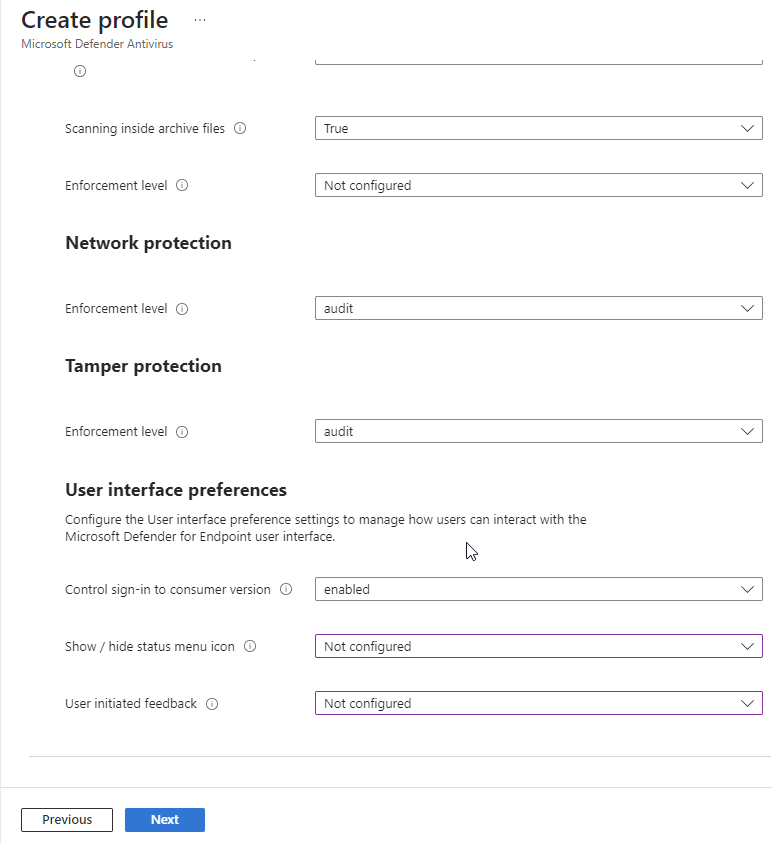
Set the Microsoft Defender Antivirus Policy
Section titled “Set the Microsoft Defender Antivirus Policy”In this policy you will configure the settings of Microsoft Defender itself. These settings are not carved in stone and you can set these for your own needs.
In the Intune portal, go to Endpoint Security – Antivirus
- Click Create policy
- Choose MacOS as platform
- Choose Microsoft Defender Antivirus
- Click Create
- Name your policy e.g. MacOS – Microsoft Defender Antivirus , click next
Select Next. On the Assignments tab, assign the profile to a group where the macOS devices and/or users are located, or select the Add all users and Add all devices options. Then select Next. Review the configuration profile. Select create.
User Experience Enrolling a device in Intune & Defender (The manual way)
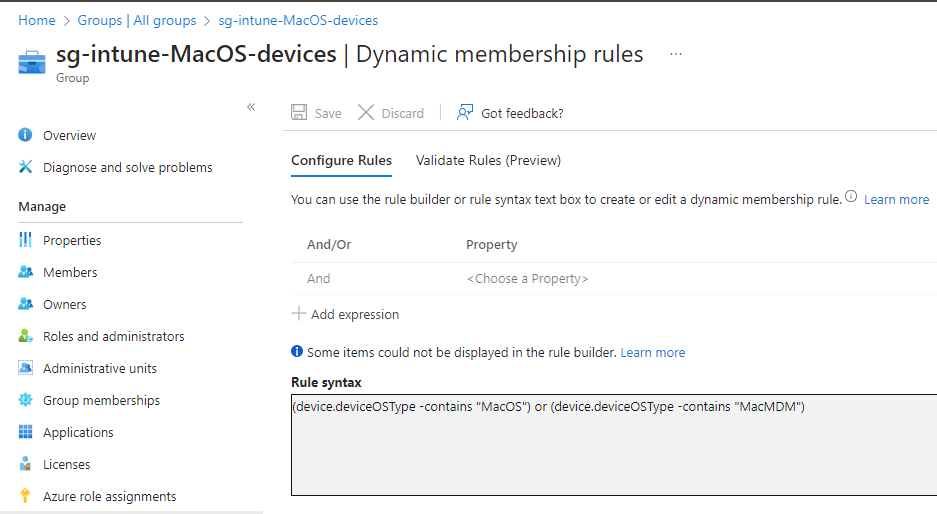
Section titled “User Experience Enrolling a device in Intune & Defender (The manual way)”Dynamic Group
In this part i will show you how to enroll you MacOS device into Intune and Defender by using the Company portal app. I have created a dynamic device group for MacOS devices, this group is assigned to all different policies and configurations.
Get the Microsoft Defender ATP app for MacOS
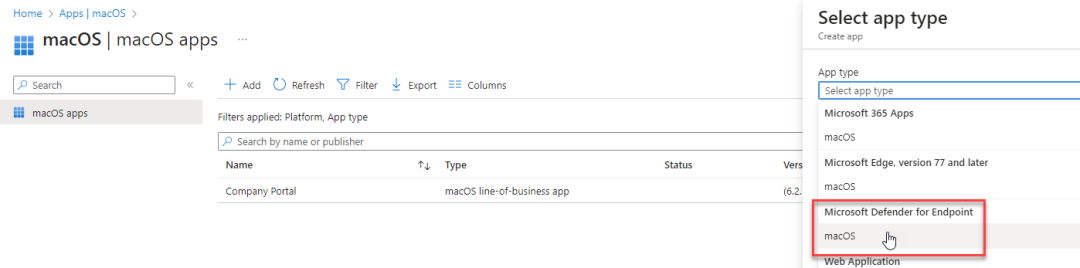
Click Select – Next – Assign the app to your desired group(s) – Create
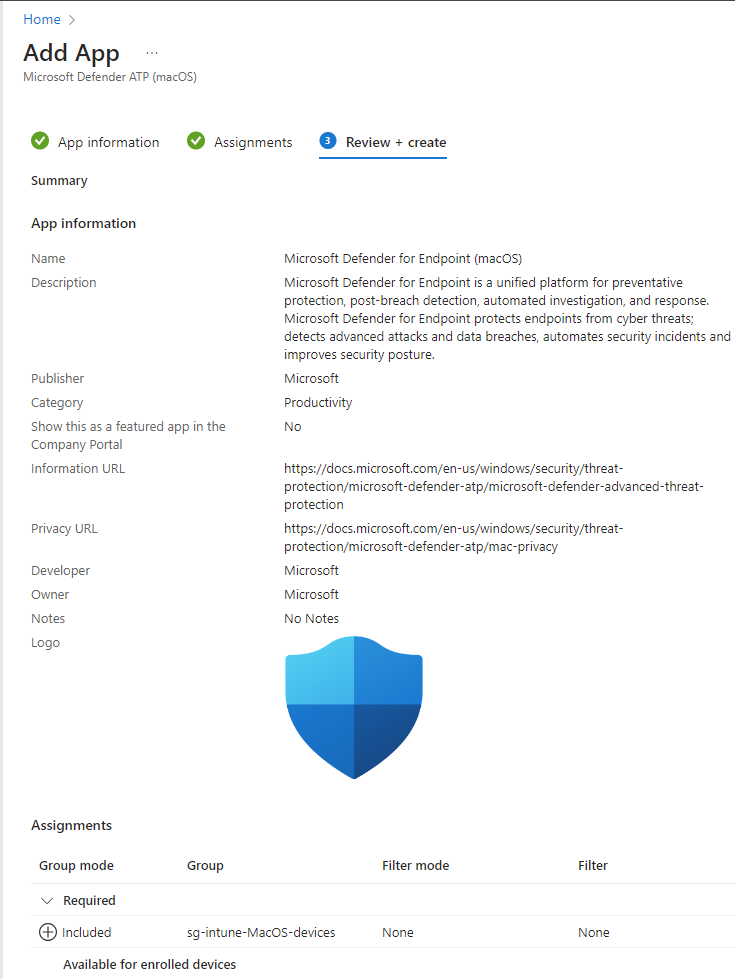
You will see the app in the list op apps for your Mac

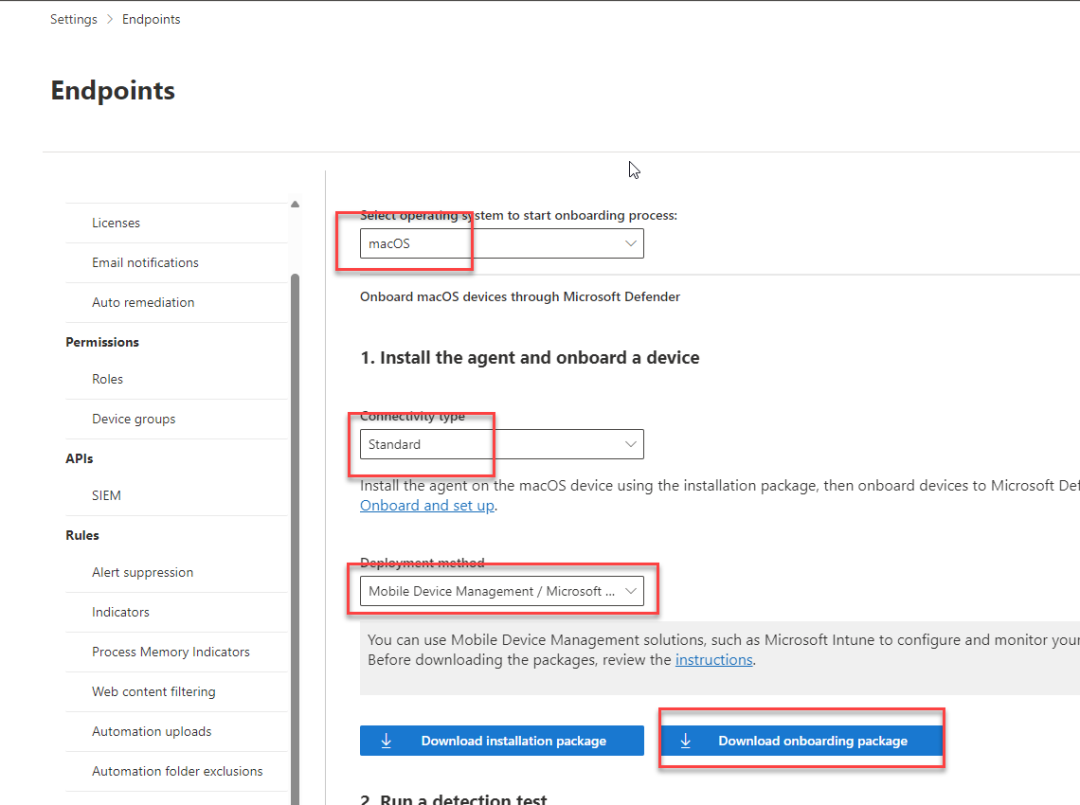
Get the Microsoft Defender onboarding package for MacOS
To download the onboarding packages from Microsoft 365 Defender portal:
- In the Microsoft 365 Defender portal, go to Settings > Endpoints > Device management > Onboarding.
- Set the operating system to macOS and the Connectivity type to standard and the deployment method to Mobile Device Management / Microsoft Intune.
This profile contains license information for Microsoft Defender for Endpoint.
To deploy the onboarding package:
- Under Configuration profiles, select Create Profile.
- Under Platform, select macOS.
- Under Profile type, select Templates.
- Under Template name, select Custom.
- Select Create.
- On the Basics tab, Name the profile e.g. MacOS – Onboarding Package
- Select Next.
- On the Configuration settings tab, enter a Custom configuration profile name e.g. Onboarding Package
- Deployment Channel: Device Channel (we are going to scope all Defender policies on device groups)
- Configuration profile file: Browse for the downloaded file
- On the Basics tab, Name the profile e.g. MacOS – Auto Update
Install the Company Portal app – You can skip this if you have enrolled your device with Apple Business Manager
Go to Enroll My Mac. and click Allow
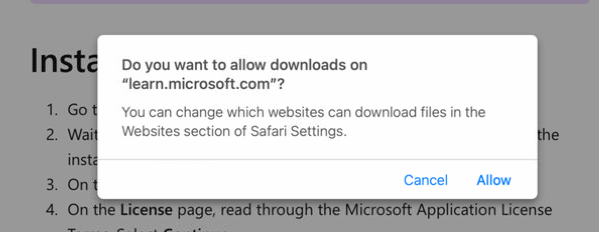
- Wait while the Company Portal installer .pkg file downloads. Open the installer when it’s ready.
- On the Introduction page, select Continue.
- On the License page, read through the Microsoft Application License Terms. Select Continue.
- Select Agree to agree to the terms of the software license agreement.
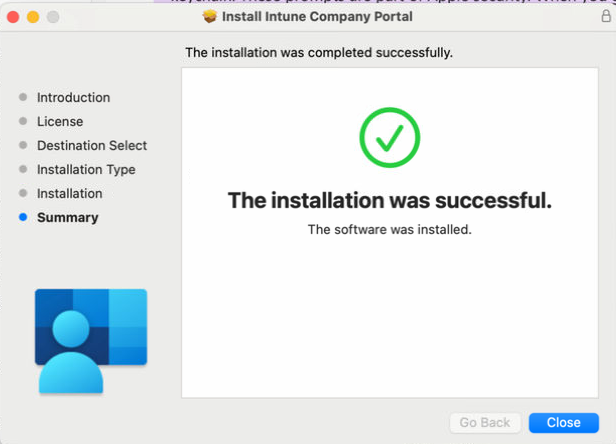
- On the Installation Type page, select Install.
- Enter your device password or registered fingerprint. Then select Install Software.
- Wait for Company Portal to finish installing.
Open the Company Portal app.
Enroll your Mac -You can skip this if you have enrolled your device with Apple Business Manager
- Sign in to the Company Portal app with your work or school account. (Approve your MFA)
- On the Set up access page, select Begin.
- Review the privacy information. Then select Continue.
- On the Install management profile page, select Download profile.
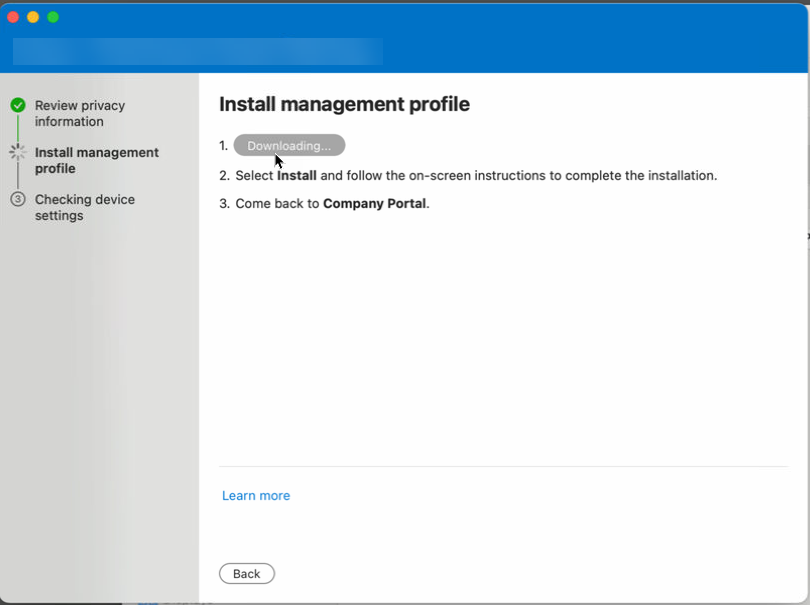
Your macOS system settings open in a new window. The management profile you just downloaded is shown. Select the profile to open it.

Select install
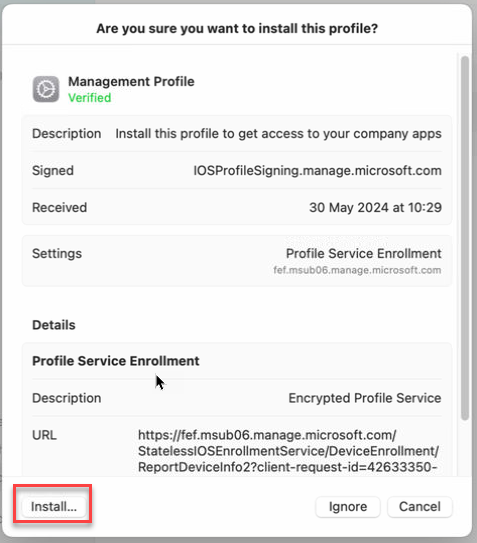
When asked to confirm installation, select Install. Enter your device password to allow the profile to enroll your device. Then select Enroll.
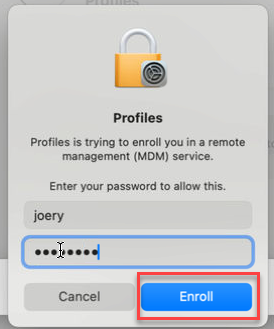
Wait while the management profile installs and then enrolls your device.
Return to the Company Portal app and verify that there’s a green checkmark next to Install management profile.
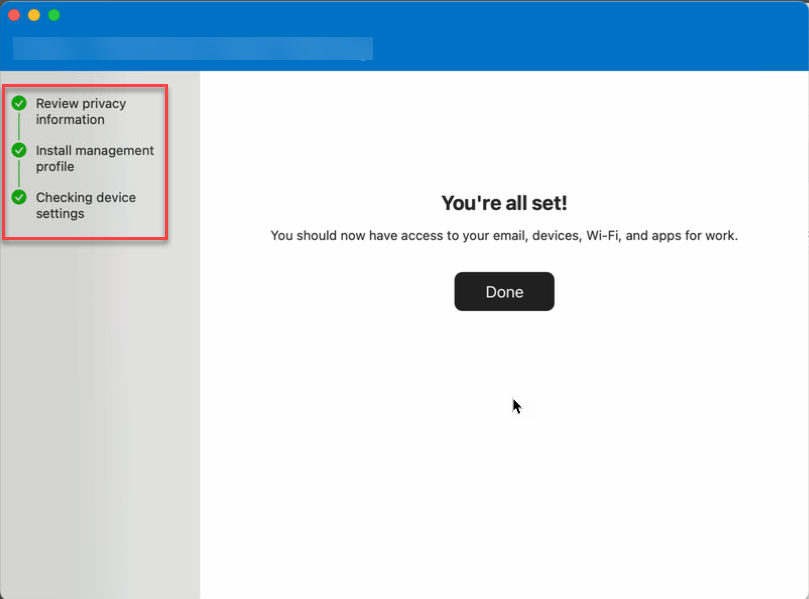
Your organization may require you to update your device settings. On the Checking device settings page, review the list of settings you need to change. Select How to resolve this to view related help documentation in a web browser. After you make all changes, select Retry. Wait while Company Portal rechecks your device settings.
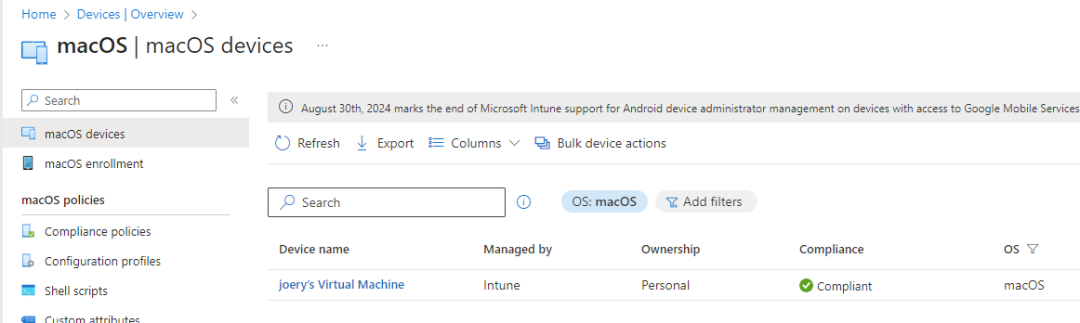
After some time you can check the Intune portal if your device is there, almost immediately my devices shows up as compliant.
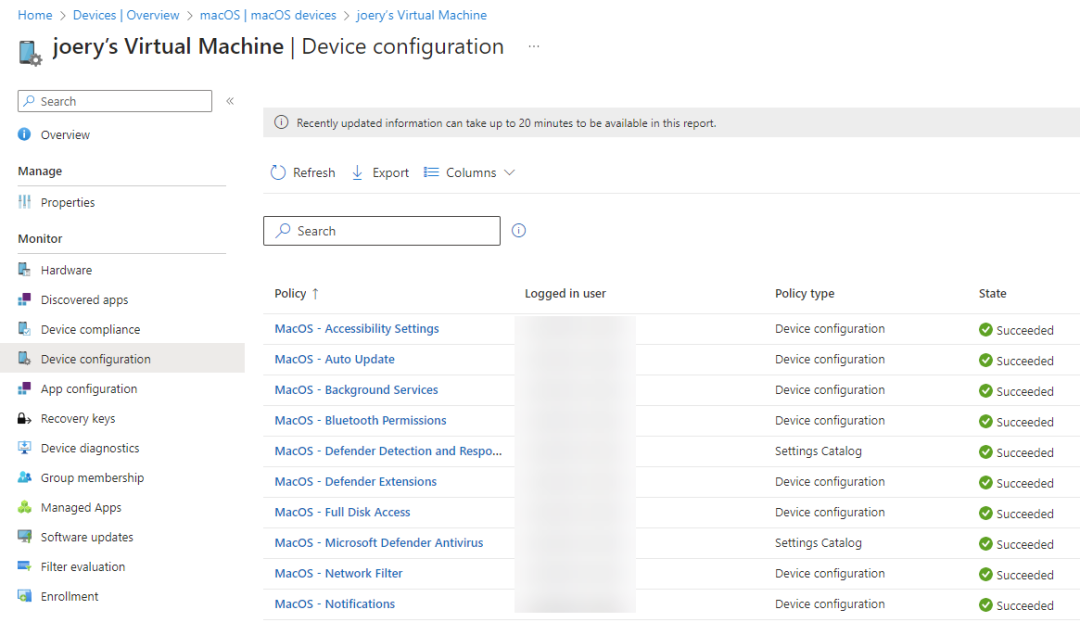
A few minutes later my device is getting al its configuration profiles which we have configured in the previous steps.
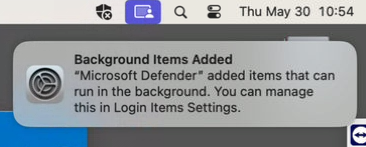
After a few minutes you will receive a pop-up and notice the Defender icon.
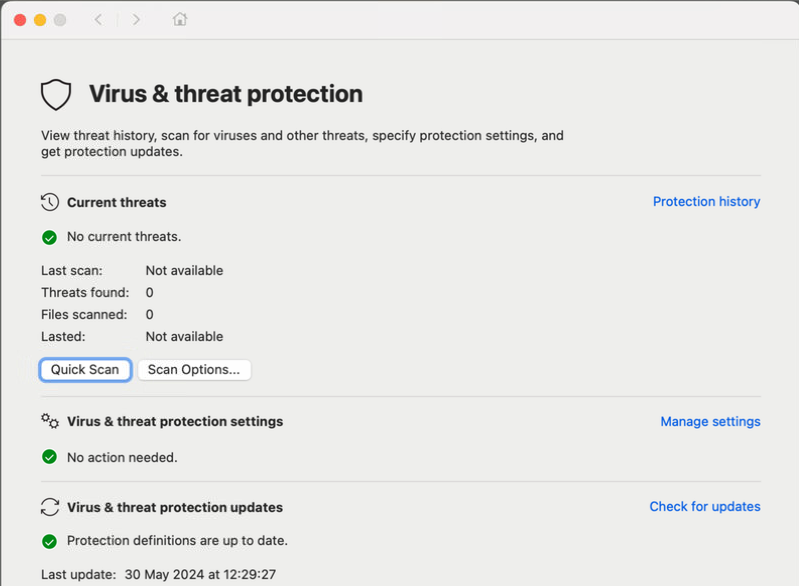
When you open the Defender app and you see this all is good.
Now you can go to the security portal – Assets – Devices and you will see your device listed in the Defender portal.
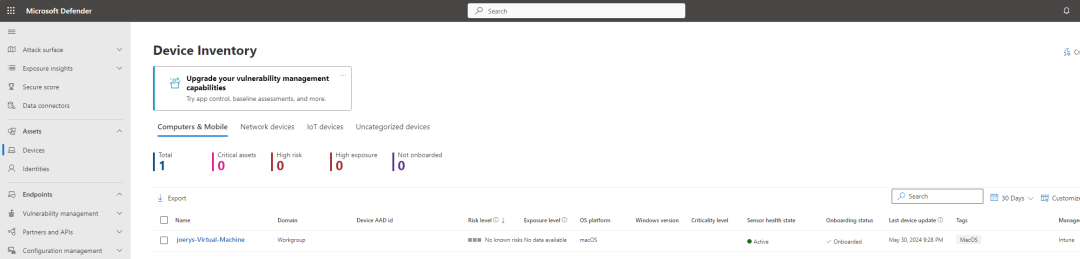
And that’s it, congratulations you have just enrolled your Mac in Intune and onboarded it in Defender.
This concludes the setup of Microsoft Defender for MacOS. Now let’s dive into some other cool stuff.